Getting Started
Installation
Import the asset, accept API upgrade and package manager dependencies if prompted.
- Translucent Image specifies very early versions of package manager packages to maintain compatibility with older Unity versions. Feel free to install higher versions of these packages if you want
If you are using URP, import the
URP Supportpackage at the root of the Translucent Image folder, and add the Translucent Image Blur Source renderer feature to your Scriptable Renderer setting asset. See the URP page for more detail.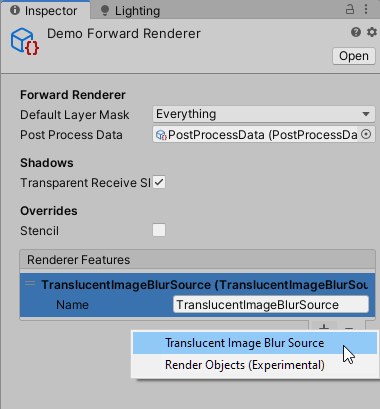
Adding Translucent Image to your scene
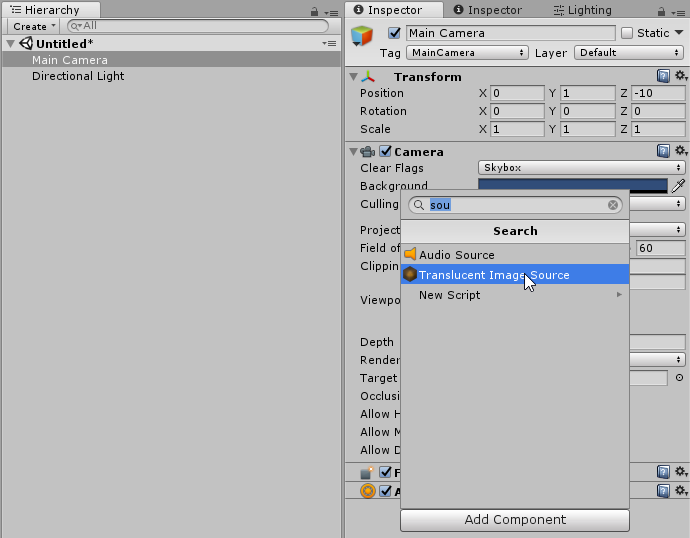
Add Translucent Image Source to your main camera.
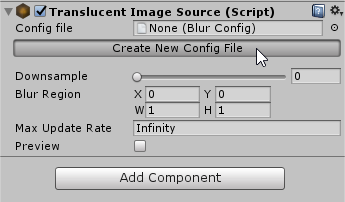
Create a Blur Config asset (or assign an existing one).
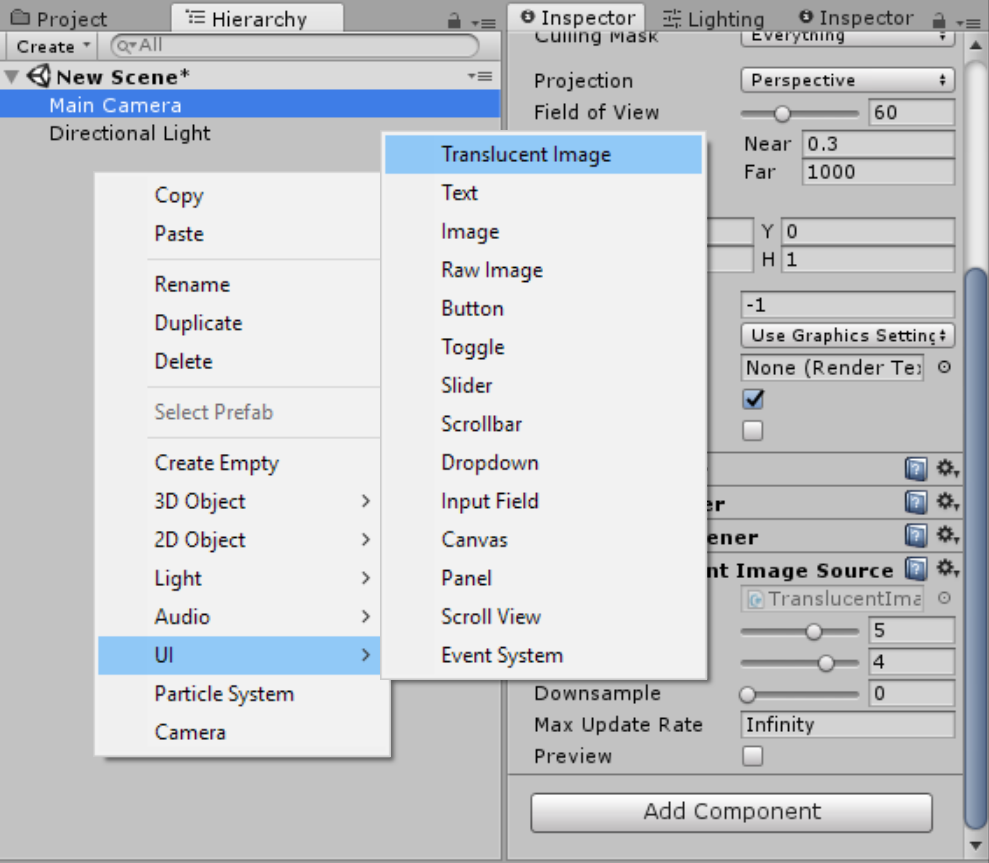
Create a UI > Translucent Image, as you would with normal Image.
That's it!
Warning
By default, Translucent Image will use a default Material. To make sure your Translucent Image are not affected by asset update, create your own Material. See Customize section for more info.
Take a look at the demo scenes
The demo scenes are the best way to learn the asset's capabilities. Check the Demo/00_Scenes/00_Minimal scene for a simple reference setup. The Demo/BiRP and Demo/URP folders contain more scenes to showcase more complex setups for each render pipeline.